2.25.2006


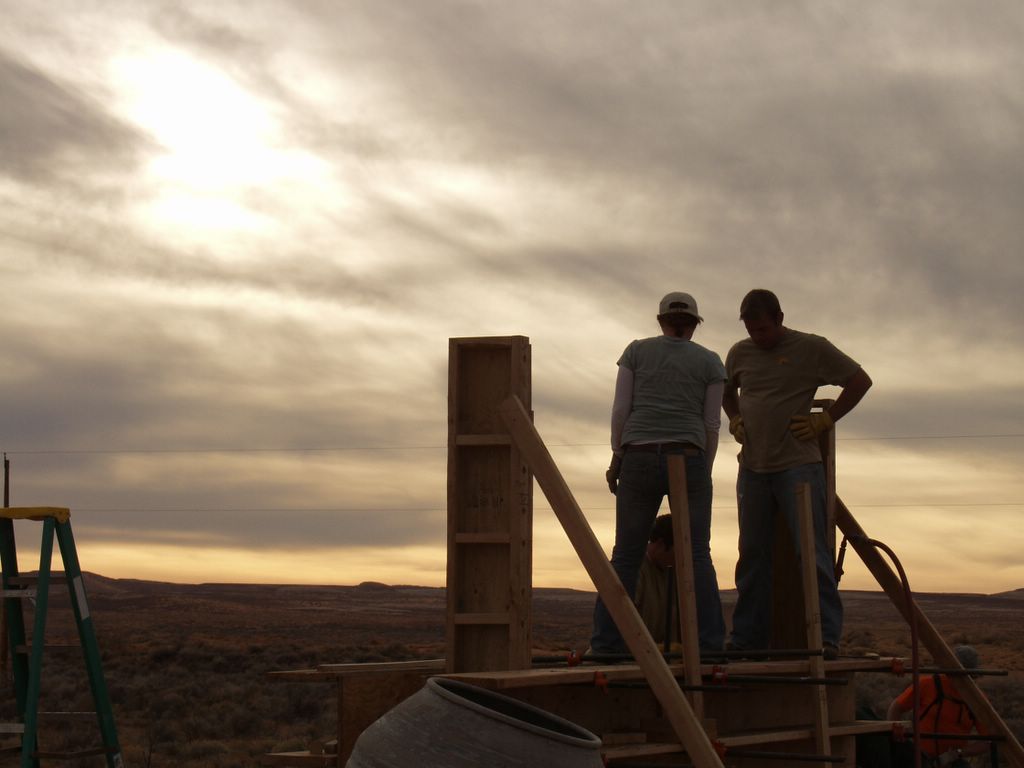
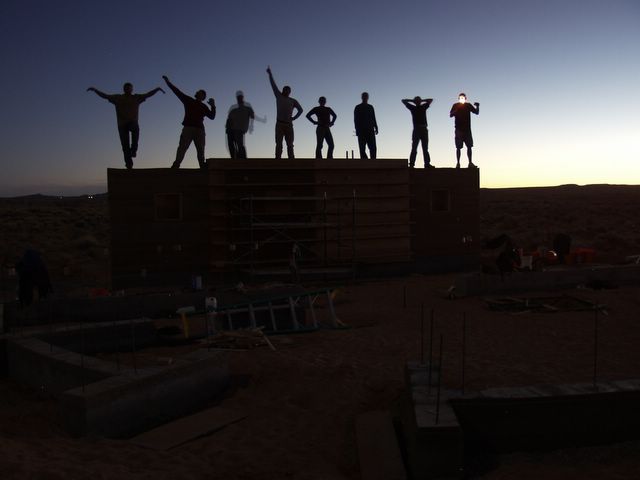
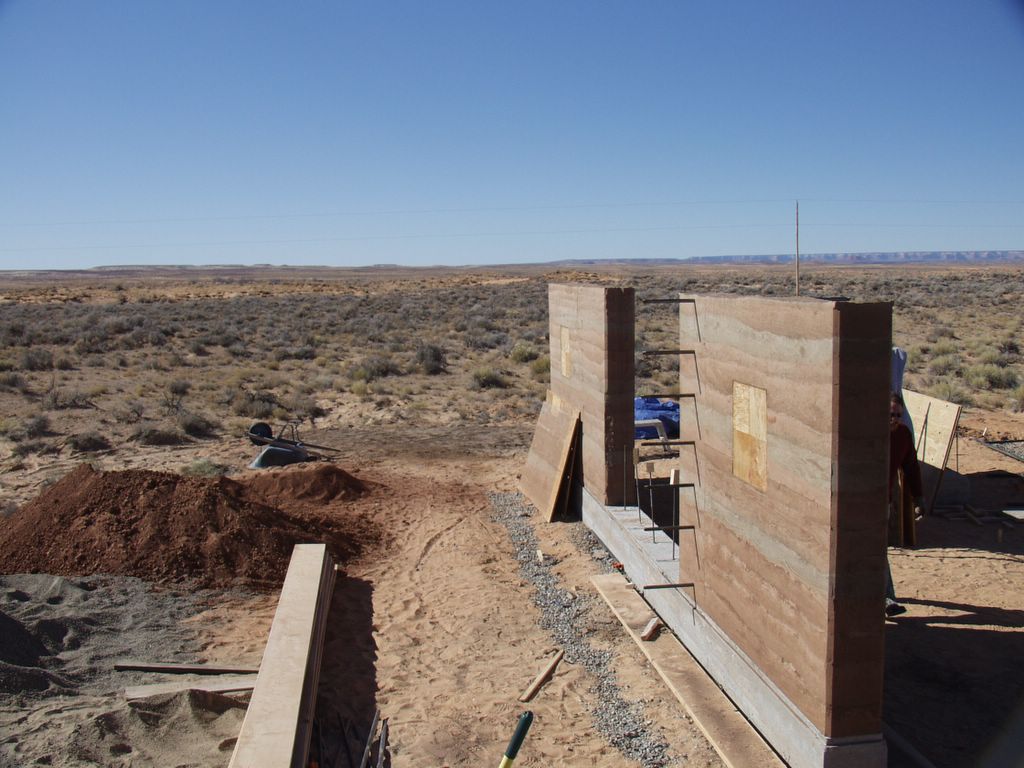
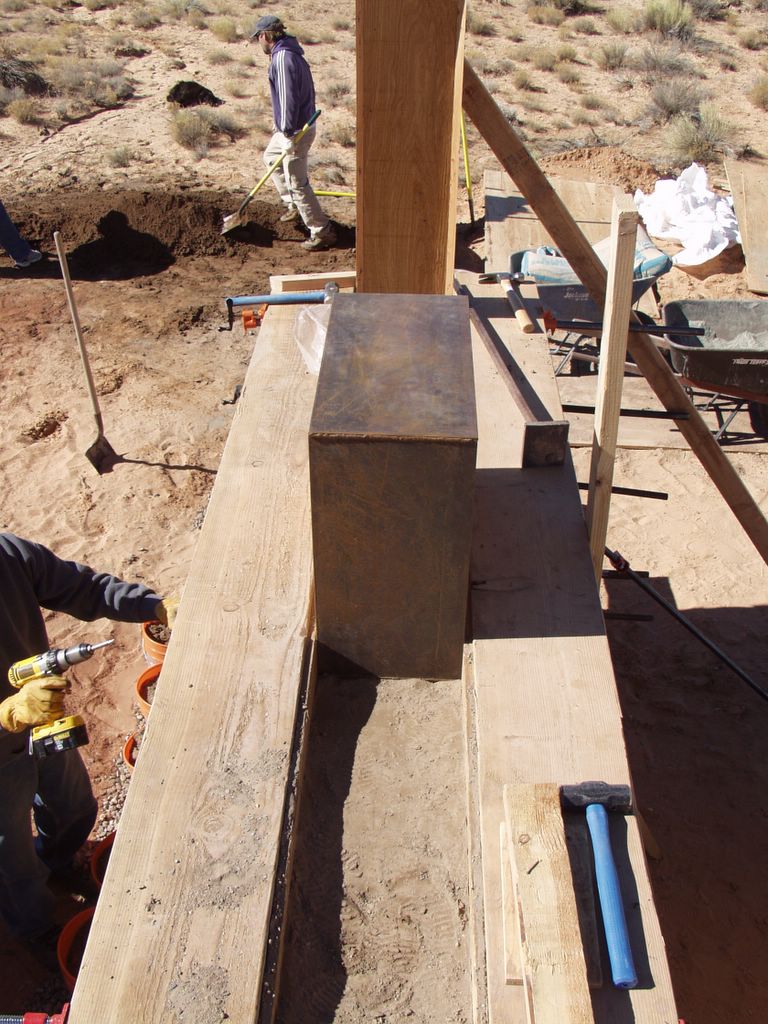
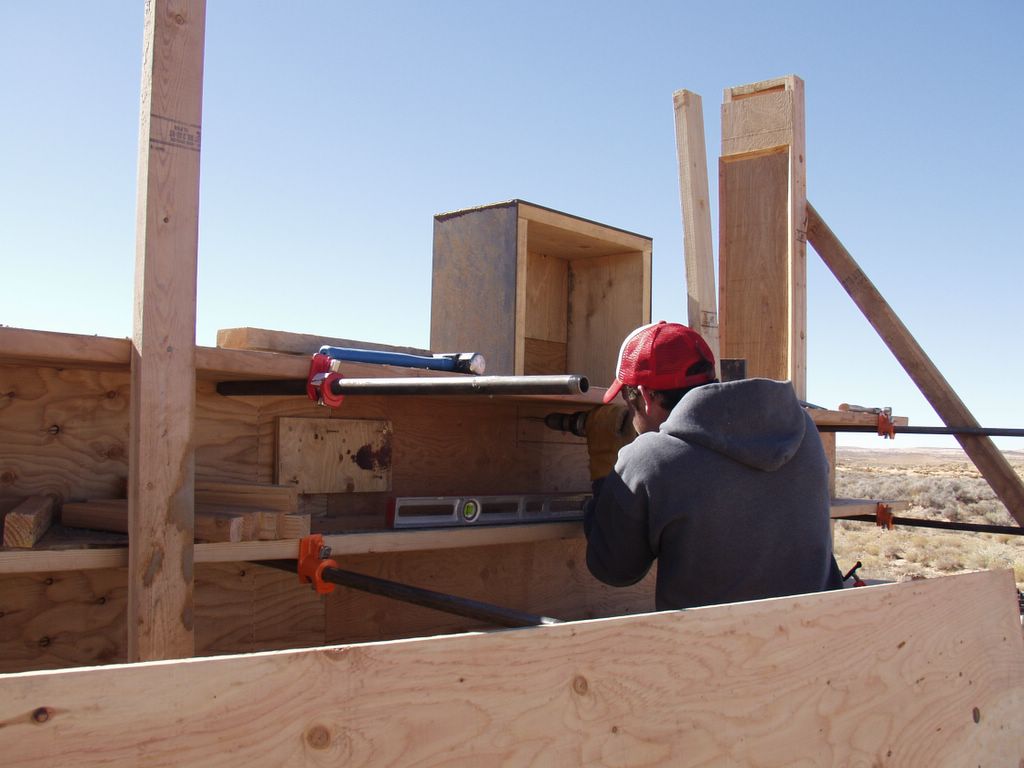
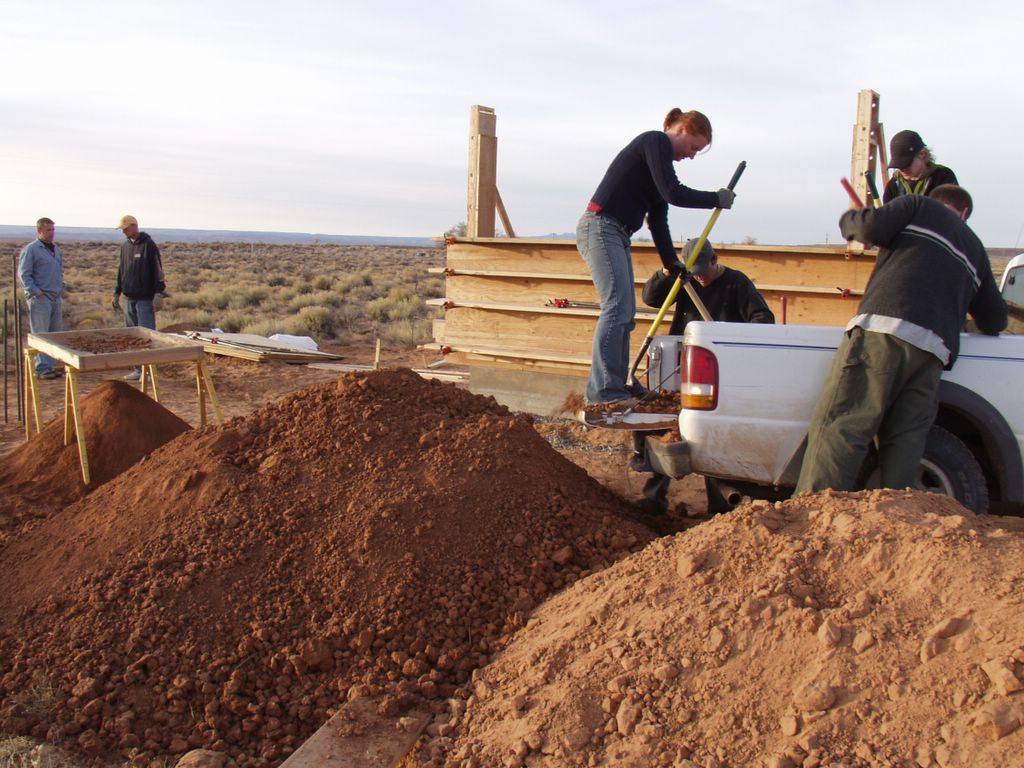
We finally poured our last foundations today. It was a huge pour. It took all day and most of the evening to finish getting the forms ready and then pour the concrete and place the knife plates onto the foundation.
Tristan (T1T2)

2.24.2006


"Flexcrete" and rammed earth.
Tristan (T1T2)

You might be wondering if a grown man can fit inside of a 2'x2'x12" box...
Tristan (T1T2)

2.22.2006


I had to leave my wife for 2 weeks again. Sad. So, I'm back down in Bluff. The rammed earth wall is pretty much finished, so I worked on finishing some formwork for the foundations that go around the RE wall. The first blocks were laid for the other walls today as well. Check the BluffBlog for more pictures. Tomorrow I may be welding up some plates for some columns to attach to.
Tristan (T1T2)

2.21.2006

all lit up

With the lights on. Posted by Picasa

Final Kitchen addition?

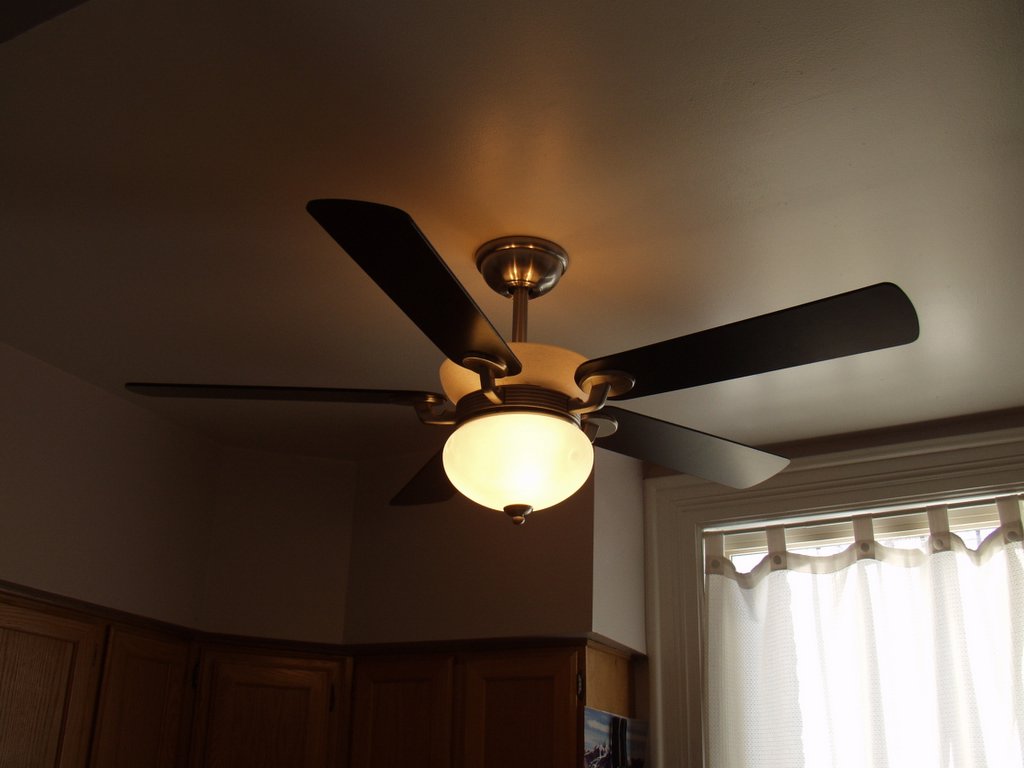
This is the latest addition to our kitchen. It wasn't the funnest thing to install, but as Terri put it, "it really pulls the kitchen together". Posted by Picasa

2.20.2006


The completely installed, fantastically new, super cleaning machine.
T1T2

Here I am in the process of installing a new dishwasher in our kitchen. It was a very serious affair.
T1T2

Crazy, crazy Denali playing with one of her Christmas toys that she got from Terri's sister, Emily.
T1T2

2.17.2006

To answer a previous comment...

As to whether or not the painting in the dining room is one that Terri bought...
We first tried to take down the painted-over wallpaper that was in the room, only to find this crazy wallpaper underneath. We cut out a square, because we had already started but decided we didn't want to take the time to do the whole room. So, we found a frame and some paint that matched the wallpaper, painted the room, and hung a frame on the wall.

1 OF 2

This was the first image in the series. Posted by Picasa

2.14.2006

Dining Room Paint

Like our friends Kris and Ron (and their super cool house blog), I wanted to let you know what paint colors we used. The green in the dining room is Sherwin-Williams Ryegrass #6423. We used a green two shades lighter in the entry way (SW Celery #6421).

PS - we used the SW environmentally-friendly "harmony" paint line and LOVED it.

Here is our recently painted dining room. It looks great, except for the temporary dining room table. My next task is to design and build a new one.
T1T2

2.11.2006


We worked so hard these last two weeks that we actually had time to take today off. So we all headed down to Canyon de Chelly in AZ to check out some spectacular Indian ruins and artwork. This is the White House which has ruins at ground level as well as in the cliff.
T1T2

2.10.2006


The Rammed Earth Wall is finally done! It is so beautiful. We took the supports out of the steel openings and revealed the entire wall today. Everything looks fantastic. Check out the BluffBlog to see some more of our handywork.
T1T2

I miss my wife.
T1T2

A late night at the site. The rammed earth wall is finished, but the forms are still up.
T1T2

Standing on top of the rammed earth wall.
T1T2

2.08.2006


So, there have been a lot of questions as to what exactly is Rammed Earth. Well, I'll tell you. It's pretty amazing stuff, all it is is a mixture of different types of soil that is compacted/rammed into a form. Think of making a really nice sand castle. The key to making it work is having the correct mixture of sand, gravel, and most importantly, CLAY. Ideally you want between 20-40% clay in your soil. The clay binds the sand and other aggregate together. Cement may also be added as a stabilizer if there isn't enough clay in the mixture. For our rammed earth (RE) walls we have about a 30% clay soil content. It took forever to find the right color and clay content. So, our mixture for the wall is a 45% sand and 30% clay mixture with about 12.5% cement and 12.5% road base gravel. You mix this all together and add just enough water to make the mixture ball together in your hand. It is a very dry mixture. This is poured into the forms about 8 inches at a time and then is rammed down with a pneumatic or hand tamper. That is what creates the layers in the wall. The gray layers were done with a different soil clay mixture that had a little less clay, which we compensated for with more cement. I hope that clears up what RE is.
T1T2

Here is the newest RE wall. The pipes sticking through are going to be used to hold the formwork for the final middle section. By Friday we should have this wall finished.
T1T2

It's getting there, just one more section
T1T2

2.07.2006


Sunset at the site. I now have access to the DesignBuildBluff blog. Check it out: www.designbuildbluff.blogspot.com
T1T2

We worked pretty late today at the site getting the second section of rammed earth rammed into the form.
T1T2

2.06.2006


This was the first panel to go. Everyone was so excited to see how it turned out. This wall, when it's all finished, is going to be so beautiful
T1T2

The rammed earth wall section 1 has been revealed!!! It is so wicked awesome. There are a few flaws, but what do you expect, we're new at this. What do you all think? The plywood squares are inside of the steel frames that I made. They are there to support the steel while we rammed it and while the wall dries and cures.
T1T2

2.05.2006


this is the steel frame inside the formwork. You can see the rammed earth that it sits on. More formwork is added and more earth is rammed in all around it. Just wait till you see the finished wall!
T1T2

Here's Matt attaching the steel frame into the rammed earth formwork. The board behind him goes above the existing formwork to complete the wall. We finished ramming this section of the wall and will probably take off the forms tomorrow to reveal how awesome the wall is.
T1T2

Inked
T1T2

Start of the Rammed Earth Wall


the construction of the rammed earth wall has begun! hopefully by monday we'll be able to pull the forms to see what the first section of wall looks like.
T1T2

2.03.2006

More car pics...

 Posted by Picasa

Meet our new Car!


So, while Tristan has been busy in Bluff, I have been busy buying new cars. Well, okay, just one. Here is our foxy used (but new to us) 2004 Subaru Legacy. It is the 35th Anniversary edition. It has alloy wheels and a moon roof.

I don't even feel that ripped off; although, they were able to get me to buy an extended 100,000 mile warranty that Tristan would have probably turned down. oh well. Oh, the best part is that it only has 5,001 miles because it was a factory sample or something.

Anyway, we haven't named her yet. Please let me know your name suggestions that start with and "S" or an "L" (e.g., Scarlett Subaru or Letta Legacy). Posted by Picasa

This is John's clayman. It kind of looks like a turd.
T1T2

The big dark pile of soil/clay in the middle is the pile that I collected all day today. Fun times shoveling all day long.
T1T2

2.02.2006


Some more forms. This photo has the formwork for the concrete foundations that sit on top of the gravel filled trenches. The rammed earth formwork is in the background.
T1T2

It's been awhile since there was a picture of me up on the blog. So here you go. I'm standing next to some of the formwork for the rammed earth wall. When this wall gets rammed and the steel frames I made are put in the wall it's going to be one of the sweetest things ever in the history of the world. Just wait and see.
T1T2

Here you can't see the pile anymore, but you can see everyone taking a lunch break.
T1T2

That pile of gravel in the back, went into this trench in the front all by shovel, wheelbarrow, and big tough dudes. It took about half the day, but everyone here (except me) are late sleepers so half a day is from about 10 or 11 until 1.
T1T2